Friday, March 29, 2013

Glitz Love!

Glitz Designs is one of my favorite paper companies. 
Here are some pages I've made recently using their products. 


 Really love how this one turned out.
It features the "Cashmere Dame" collection,
some old Glitzers (stickers) and
A Glitz rub-on, and a Glitz roller stamp.


These next two feature the "Color Me Happy" papers & tapes,
 with a bit of "Uncharted Waters" peek a boos thrown in for fun. 
The top page also features some WOW chipboard.


This one features the
 "Love Games" 
 &
 "Laced With Grace"
 collections.
Add some gold glitter tape, sequins, 
and some owl feathers from my yard
& it's one of my favorite pages ever!


The photos of the girls were taken by me.
I am so lucky to have friends with such beautiful
kids who let me use them as models for practicing
my photography skills. :) 


You might also spy some Punky Sprouts
Lacy Blooms in 3 of the layouts too.
My favorite Punky product. I use them on
EVERYTHING! 

Sunday, March 24, 2013

Mad Tea Party Mini


I love Heidi Swapp's products, especially her Color Shine Mist. It is superior to any other mist on the market. Really the only problem I have with these mists is that there are only 12 colors!! ; )  When I saw she was having a contest featuring her wood albums I just HAD to play along. 

Here's my finished album. I love how it turned out. It may be my favorite mini book yet!! 
It didn't begin ver well though. I had issues with the mist bleeding through because I painted it onto the wood over a vintage HS mask. Then I used diamond glaze to make the polka dots raised. Tried bringing them out more by outlining them with Sharpie. That didn't work either... so I extended the colors from the dots by painting on more mist. It just became a hot pastel mess, so I covered it with gesso, softening it a bit, making it more like a Monet then covered the majority of it with Punky Sprouts Lacy Blooms. Who knew lacy little doilies would we so handy?


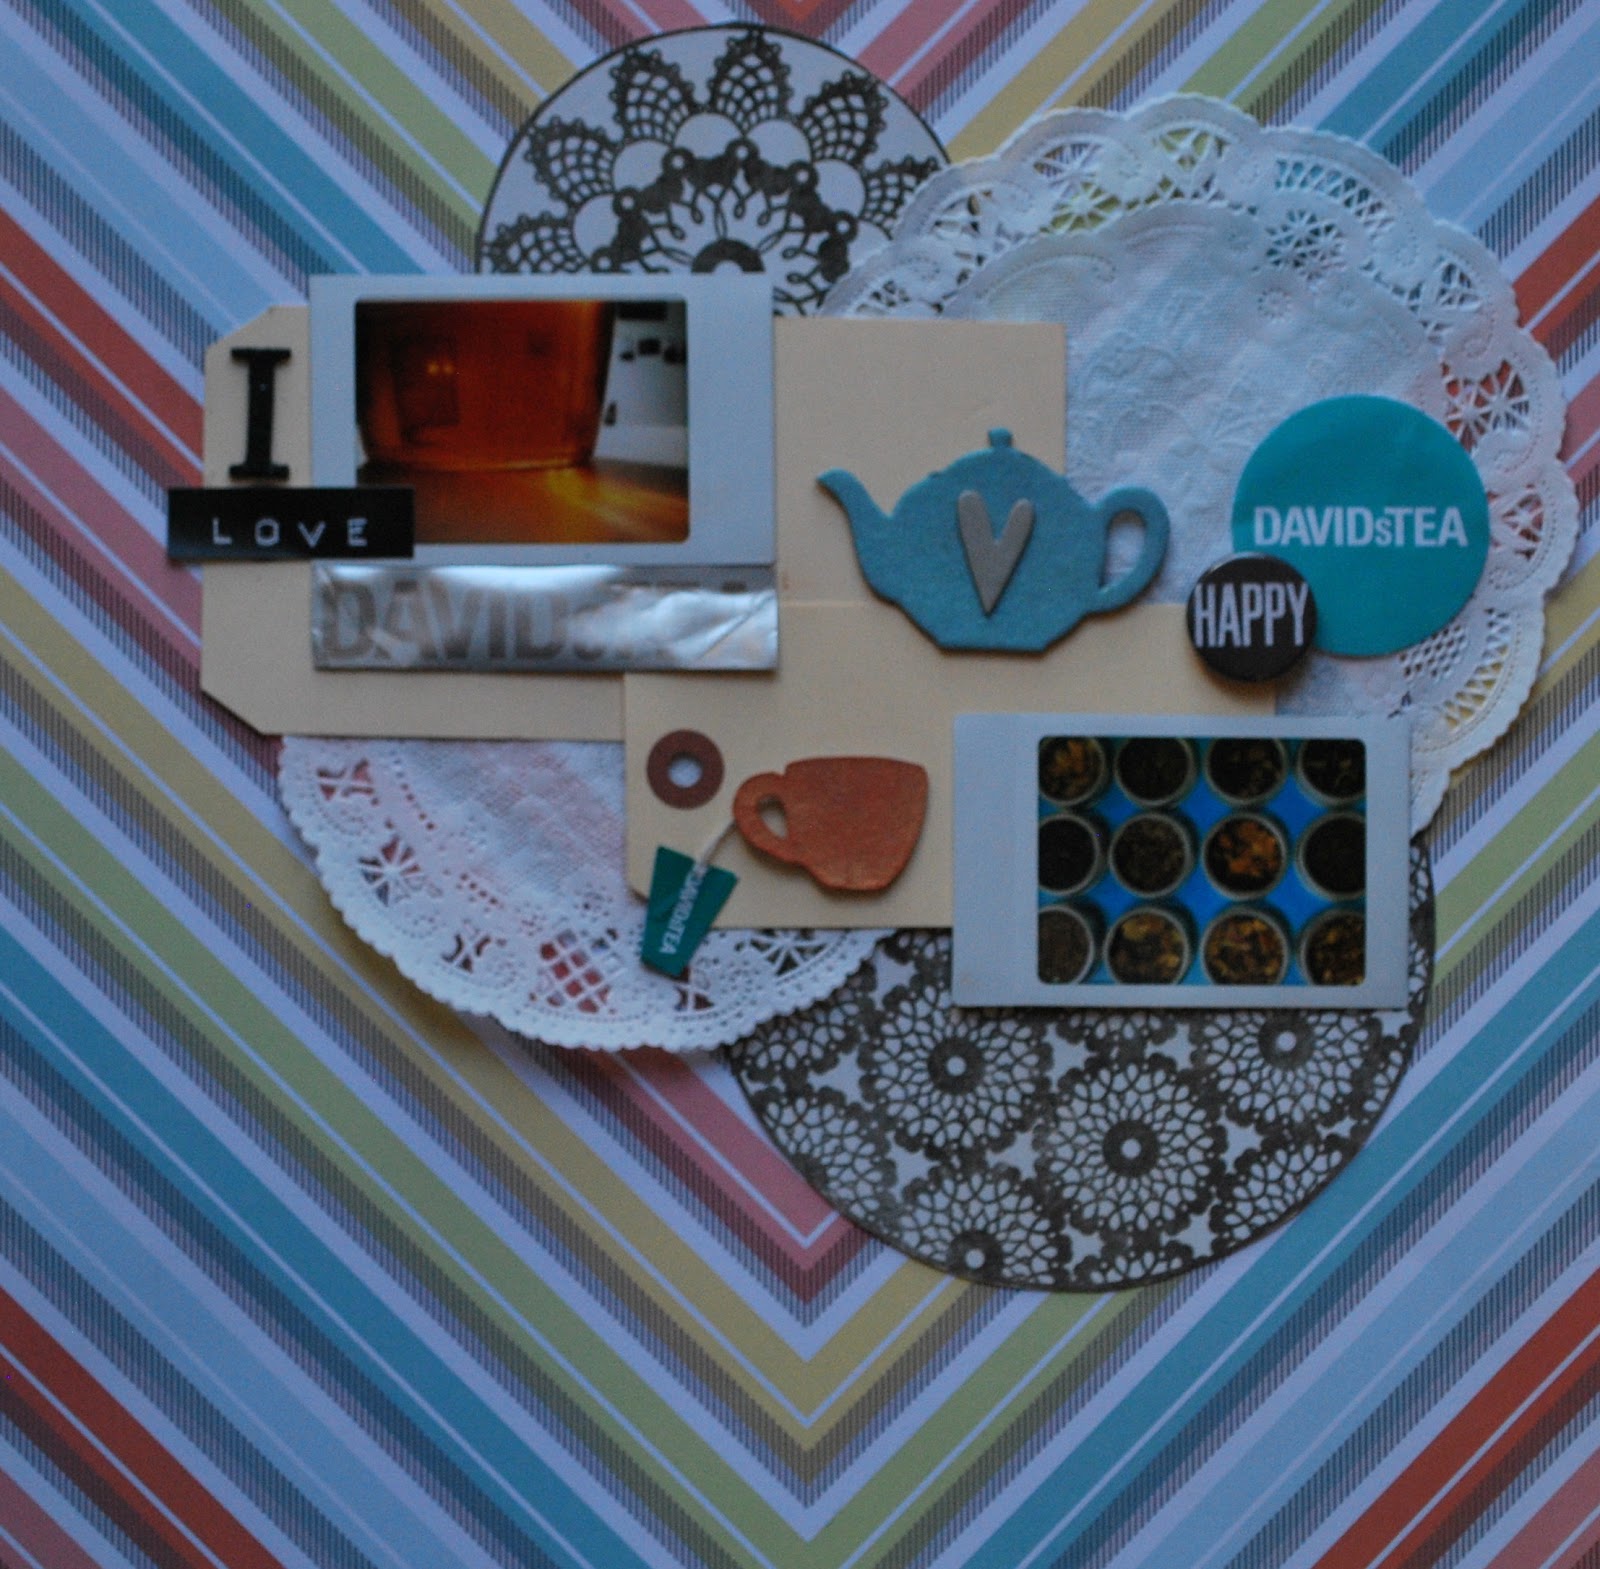
There is some Color shine in the little drink me bottle,
attached with the same Diamond Glaze I used to decorate the tea cup & tea pot.
The TEA letters are vintage HS covered with gesso. 


 The ribbons on the top started out white and were dyed with Color Shine Mist.

The inside of the cover dripping with Color Shine awesomeness.
I'd dreamed of going to Disneyland and riding the tea cups my whole life
(weird dream I know, but that's me, weird!!)
& a year ago my friends took me and made that dream come true.
We had so much fun we went back in October! 


I love the top page in this layout. It just came together so beautifully!
There re several HS Color Magic pieces on this one: the banner,  the tag (misted with Primrose Color Shine & then colored the dots with markers) & the butterflies - which may actually be Pink Paislee.


I love these two pages! The flair was purchased at Disneyland. 
The houndstooth paper is by Pink Paislee, but everything else (except the White Rabbit)
 is by Heidi Swapp. Those 3D Polka Dots & the tapes on the right side of the bottom page:
 vintage HS products!

Yes, I'm a scraphorder...


The one page I don't really like in this album?
The bottom one with the Cheshire Cat on it.
It seems to be lacking something.

The top page is cute though, isn't it?
I actually scrapbooked that same photo on 
some 12x12 HS papers from the same line.


You can't tell I like this ride at all can you?

                          Probably my favorite 2 page spread in the book, so yellow and happy. :)
I spy another Punky Sprouts lacy bloom on this page. 
The yellow stripes are Pink Paislee, everything else is Heidi Swapp.


This is the inside back cover, kind of what I was trying to do with the front piece originally.
Spraying the mist on the polka dot mask worked a lot better than painting in with a brush. That caused the mist to bleed through the wood an not create polka dots at all.  The stickers are all new HS.


The back cover. The inside front cover looks the same, except without the stamping. 
Stamps are by Stampin' Up & Heidi Swapp. I stamped with black paint over the Color Shine drips.
I achieved the drippy affect by standing my cover upright in my spray box and spraying a few sprays of the same color in each spot until it started to run down the page. Finished with a bit of vintage HS tape across the top!


Tuesday, March 5, 2013

Punchinella Love


Here are a couple sneak peaks at some of my latest DT work. 


My "Snow Buddy" Winter Fun mini for Punky Sprouts, featuring Carta Bella
You can see the rest HERE on the PUNKY BLOG. :)


Also,  a close up of my latest for True XoXo ... the challenge this month is to create a project using only photography apps on your phone NO CAMERA! It's lots of fun! Join in!


A couple of nautical themed fun little cards I made this week.
I drew the little whale and embellished with bling!


The mermaid is by ScrapFX and I hand painted her,
 adding sequins and pearls for fun.


I used punchinella (aka sequin waste)
 on 3 of these projects, it's my new favorite thing!
SHINY! 


Sunday, January 6, 2013

DeKitting!

This weekend before the return to school from winter break I scrapbooked... a lot!
Except for the last 2 projects, I took remnants of old kits, emptied out each bag & made a card or LO with what was left & added some from my stash. Any whole papers or embellies left over went into my stash as I de-kitted.

A pretty card for a special friend who was accidentally left off my Christmas card list!
I really love how this turned out, may be my fave card ever! 


This page is about my sweet dog and her weird health problems.


Hidden journaling on tags in the paper bag under the photo washi taped together.


 Me when I was wee with my favorite stuffie, Goofy.
 I still have him BTW. 
My Aunt gave him to me when I was 2. :) 

From my trip to England in 2009


 Detail


Miss cutie Kaitee.

More England 2009


Love this. Kind of just fell together. :)

Disneyland! :) 
Some Bo Bunny beachy chipboard bits.
The title was cut on the Cricut. 


My family circa 1983 <3 p="p">
Bo Bunny & Simple Stories here.


Using a technique learned from Creative Jumpstart 2013. 
painting with a stencil through a cut out mask. Then stamping on it.
I also sprinkled embossing powder over it, while the paint was wet.


 THis next one is for the current challenge over at XoXo.
Fireworks! I dropped mist on the page and blew on it with a straw. 
Then added sequins for some sparkle.
Heidi Swapp goodies on here & I spy some Punky too!


Check out all the other girls work at True XoXo
& join us in the challenge yourself!! 


Sneaky Peaky of my mini for Punky Sprouts
Debuting tomorrow on their blog!! 

Just for fun.. how many Punky Sprouts Lacy Blooms do you see in my projects?
They're my fave Punky Product...I use them on everything!

Thursday, January 3, 2013

Resolution: Share More

I have become a slack blogger... I am going to try and post more often this year.
So here, have some recent pages I've made, mostly from my trip to Canada this summer.


                                       It's hard to see but the silver strip under the photo is
                                                          David's Tea packaging.


                                I've got a mini to share soon too, but it gets it's own post. :)

Sunday, December 30, 2012

Christmas Cards

I was able to hand make Christmas cards for some folks, others had to make due with store-bought cards as I ran out of time & energy. (Plus I hate the post office's policy on mailing handmade cards- they cost a whole extra stamp because they have to "hand" cancel them.) Boo! Here are some of those handmade cards. There were many more, but these are my favorites. :)


This ribbon snowflake was a scraplift from Pinterest.
The original design was a BD card I think. I added the Punky Sprouts lacy bloom
underneath & the dollar store snowflake on top. 
Had to mail this one in a BOX because it was too fat.
I was sending a box to my dear sweet Grandpa anyway, 
so he was the lucky recipient of this one.

             Oh Hambly how I miss you...
 the trees are cut from an old Hambly Transparency. 
I think the washi was made by them too,
 with an Ali Edwards Stamp & SC stars. 
                                             
 This cityscape was one of my favorites,
 thank you Basic Grey! 
   
A glassine envelope is the base of this design, 
with some fake holly leaves & a dollar store snowflake.

For my parents. My mom loves little houses. 
This one has a metal roof (Tim Holtz corner tab)

Not traditional Christmas colors, but I love this combo.
I used MME papers & Heidi Swapp Color Magic for the Maya Rd. snowflakes.

The card below I entered into the fair & won Best of Show. 
The tag with the DEER was based on one of Tim Holtz's 12 Tags of Christmas a few years ago. 

 Artsy card for an artistic student of mine who is all grown up. :)
Lots of Heidi Swapp Color Magic here. 

JC Penny Flair & happy washi on this one!


Adore was printed on the paper with the glittery swirls. 
Seemed a perfect fit for this sentiment. :)

October Afternoon & Pink Paislee used here.

Saturday, November 17, 2012

It's Beginning to Look a Lot Like...

A Punky Sprouts Christmas...


Some pretty Christmas packaging & cards made with Punky Sprouts Goodies!! 
Featured over on the Punky Blog... Head over there for more details on how I made these projects 
& what  I used to make them.

A couple of my favorite projects...

This candy jar made for a neighbor. 


                                              A pretty banner made from a Teenie Beanie album.

         Punky Sprouts has asked me to teach a class for them at CKC Mesa in April! So Excited!
        I'll share more details about that when I get them. :)